Introduction to the Blackwing Lair Guide
In this guide, I will go over every boss fight in the Blackwing Lair, mentioning everything that is important to complete them. While I will try to keep it as short as possible, some boss guides are quite complex, so this one is a bit longer. I hope you don’t mind 🙂
Also, keep in mind that you need to have completed the BWL Attunement in order to enter this raid. It is also advisable to bring plenty of consumables and some Fire Resistance gear.
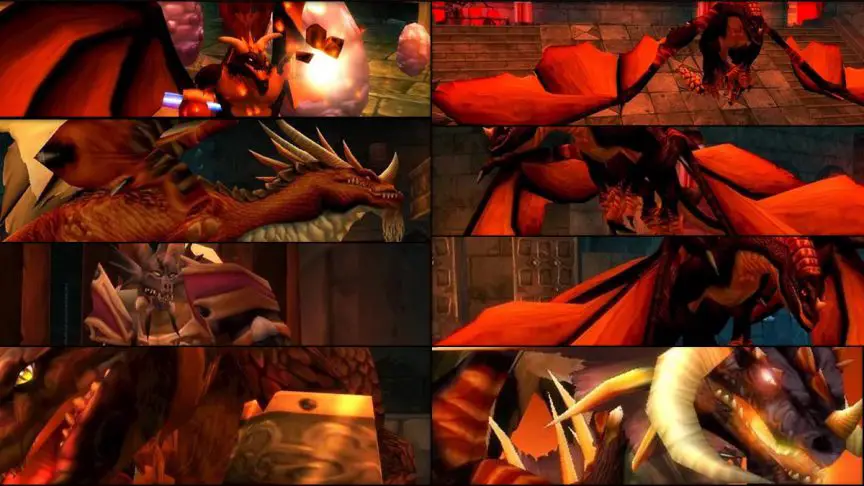
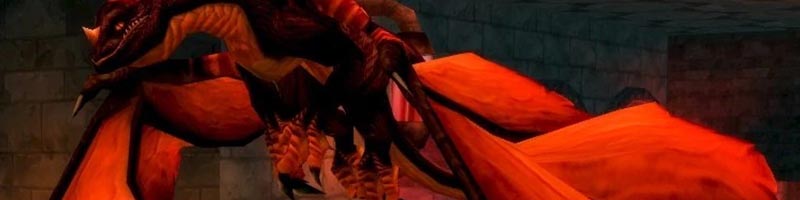
Razorgore the Untamed – BWL guide
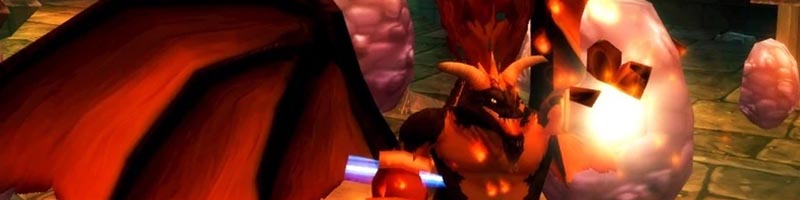
Phase 1 – Eggs
- When you pull the pack at the orb to start the encounter, one player needs to control the orb and start destroying the eggs in the room with Razorgore.
- Split the Raid into 4 groups, one for each corner. This is where the adds spawn. (Focus the Mages)
- Warriors need to kite the Legionaires through the room with the help of hunter traps. 2 Warriors should be enough to cover the 4 corners.
- The Dragon adds need to be CCed as much as possible. They can be tanked, though it is not worth it. have them feared or sleeped at all times.
Phase 2 – Nuke
- Razorgore will aggro the player who was controlling the orb, the MT needs to take aggro.
- Position the raid in a triangle (MT – OT – Raid). This is so that only one of the tanks gets the debuff from Razorgores “Conflagerate” ability.
- The Offtank needs to take aggro when the Main Tank has the debuff.
- The raid is positioned behind the boss, between both tanks.
- Nuke down the boss. This is the easier phase of the encounter.
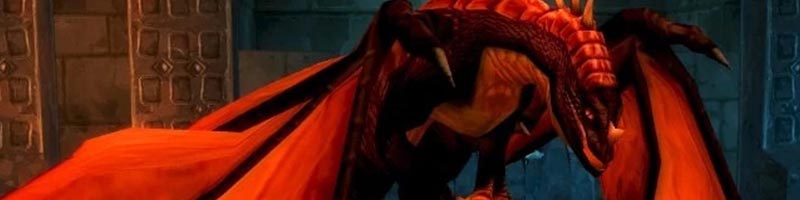
Vaelastrasz the Corrupt – Blackwing Lair Guide
- At the beginning, Vaelastrasz will be friendly until you talk to him, so take your time to set up.
- The fight lasts about 3 minutes, which is the duration of the “Essence of the Red” buff, which the whole raid gets. It regenerates mana, rage and energy.
- When this buff runs out, the healers will not be able to keep up with the healing and the raid will wipe
- Vael will cast “Burning Adrenaline” on a random mana user. It will increase the damage done by that player by 100%, but the player will die after 20 seconds.
- Every third use of “Burning Adrenaline” will be on the main tank, meaning you will most likely need 5 tanks for this encounter, since they will die.
- When a player dies from “Burning Adrenaline”, they need to be as far away from other players as possible, to avoid killing other players.
- Traditional Dragon positioning applies. Don’t be behind him, don’t be in front of him (except main tank). Keep the other tanks near the MT, but so that they don’t catch the breath and cleave.
- Veal has a Fire Aura, that hits everyone in the raid for a few hundred damage
- DPS classes need to be careful of their threat due to the tank swaps.
Broodlord Lashlayer – BWL guide

- To reach Broodlord Lashlayer, have rogues disarm the “Suppression Devices” in the rooms leading to him. Fight in the alcoves, where there’s none.
- Once reached, have the main tank pull the boss into the nearest alcove at the side of the room.
- Two offtanks should stand 90° away from the MT and start generating aggro as well.
- DPS should clear the last whelps and then head for the gate. Give the tanks enough time to get aggro
- Threat is a problem in this fight, so be careful and use your threat reducers on cooldown.
- Lashlayer will cast “Knock Away”, reducing the current Tanks aggro by 50%. The offtank that takes over will need to move to where the MT stood before.
- A DPS stop can be useful for these tank swaps, if needed. It’s not a DPS race, the fight should be taken slow and steady.
- Healers will also generate a lot of aggro and need to be careful who they heal. A Healer rotation might be useful.
- Melees need to get in and out of range of Broodlord Lashlayers “Blas Wave”, to make the life easier for the healers.
- Every 25 seconds, the boss will cast “Mortal Strike” on the current tank, doing over 5000 damage. The tank then needs to be shielded and healed. Also, keep an eye on the Tanks health before this happens.
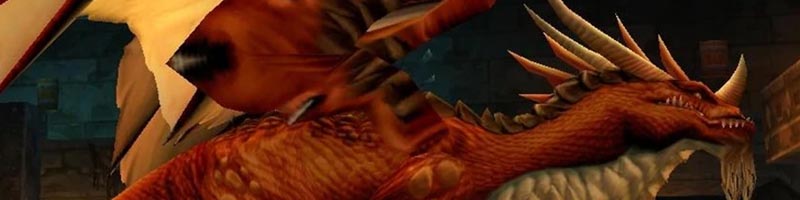
Firemaw, Ebonroc, and Flamegor – Blackwing Lair guide
To keep this Blackwing Lair Guide as shortas possible, I will only go over these abilities once. Please note that all three of the dragons have these abilities, in addition to the unique mechanics listed for each one!
- All 3 of these dragons will cast “Shadow Flame” on the tank in front of them, which is why they need to wear the Onyxia Scale Cloak, in order to prevent the DoT from applying.
- Another ability they all have in common is “Wing Buffet” which does damage in a cone in front of the Boss, reduces aggro and knocks back, similar to Lashlayer.
- The offtanks need to be ready to taunt the boss before this, so that they get hit be the ability instead of the Main tank. It should never hit the MT.
Firemaw
- He has a unique ability called “Flame Buffet”, which does fire damage and applies a stacking debuff, which lasts for 20 seconds and increases fire damage taken.
- This debuff is only applied to players in line of sight of the boss, so everyone needs to run behind a wall or pillar before their stacks reach 10.
- 3 Tanks can be very useful for the Firemaw fight, since you need one for “Wing Buffet” and one to let the MT reset his “Flame Buffet” debuff.
Ebonroc
- He will cast “Shadow of Ebonroc” on the tank, causing healing for Ebonroc every time the tank is attacked by him. It can be resisted with enough shadow resistance, at least 200.
- If you can’t or won’t reach that amount of resistance, you will once again need Offtanks to taunt the boss when the MT has the debuff. 2 Offtanks should be enough.
- DPS don’t need to worry about mechanics for this fight, making this one of the quicker fights of this Blackwing Lair guide
Flamegor
- The Dragon will cast “Frenzy”, increasing his attack speed and an AoE every couple of seconds.
- Luckily, this is very easy to avoid, since the “Frenzy” can be dispelled with “Trenquilizing Shot” by hunters, making this the easiest of the the Dragons.
Chromaggus – BWL Bosses

- He will get into a Frenzy, like the one from Flamegor, which needs to be dispelled by hunters using “Trenqilizing Shot”.
- When Chromaggus reaches 20%, he will enter a permanent enrage. There is nothing you can do about it
- During this enrage, he will still go into Frenzy, on top of the enrage. Hunters need to be very quick during this phase!
- His skin will periodically shine with a color. During this time, he will take extra damage from that element, which can help do some extra damage.
- Tank him under the gate to his room, to make it easier to get out of line of sight for the breaths.
Breaths
Every week, Chromaggus will use 2 of the 5 breath abilities listed below. These will be the same two for the whole week, and they can make the fight extremely hard, depending on the combination.
The Core Hound will cast these Breaths every 30 seconds, and they should ideally only be taken by the tank, so everyone else should run out of line of sight when this happens.
- Red: “Incinerate” – Deals around 4000 damage, which is doubled with black afflicion.
- Green: “Corrosive Acid Breath” – Deals 5000 damage over 15 seconds, ticking every 3 seconds. It also reduces armor by 4000-5000.
- Blue: “Frost Burn” – Deals around 1500 damage and reduces attack speed by 50%.
- Black: “Ignite Flesh” – Deals 750 damage every 3 seconds. This debuff stacks and lasts for one minute.
- Bronze: “Time Lapse” – Halves maximum health, stuns for 6 seconds and reduces threat. The health is restored afterwards.
Afflictions
When a raid member is affected by all 5 afflictions, they will mutate into a dragonkin, which will run rampage through the raid. Everyone who can, needs to help dispel these afflictions to avoid this. This has the highest priority.
The Bronze affliction can only be removed with “Hourglass Sand”, which drops from the trash before the boss. Healers, Tanks and Hunters should have priority for this. The afflictions can all be removed by “Ice Block”, so frost mages have it a little easier.
- Red: Periodically deals fire damage and heals the boss if you die.
- Green: Deals nature damage and halves the healing you get.
- Blue: Slows movement by 70% and casting by 50%. In addtition, it drains 50 mana per second.
- Black: Increases fire damage the target takes by 100%.
- Bronze: Randomly stuns the target for 4 seconds. Lasts for 10 minutes and is only removable with “Hourglass Sand”, dropped from the trash.
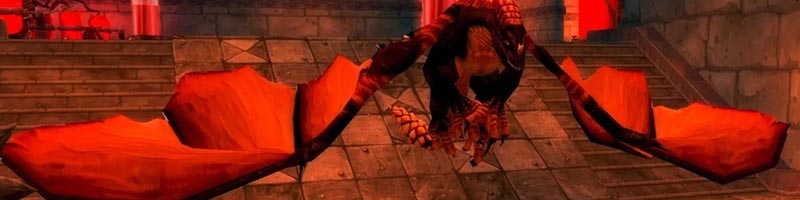
Nefarian – Blackwing Lair guide
Phase 1 (Dragonkin Adds)
- To start the fight, talk to Nefarian on his throne and go through the dialogue until he starts walking around.
- He will cast Shadow bolt, Mind control and Fear during this phase, but there’s nothing you can do about it, since he can’t e attacked during Phase 1.
- Dragonkin will spawn from the entrances in the north and south sides. Split the group to deal with them
- The Dragonkin will have 2 of 5 colors, similar to chromaggus. Each side will spawn one of the colors and some chromatic ones, which are stronger. They need to be focused. Here are the 5 possible colors:
- Red: Resists fire. Deals fire damage in a cone in front.
- Green: Resists nature. Can cast a stun.
- Blue: Resists frost. Drains mana and reduces attack speed.
- Black: Resists fire and shadow. Deal direct fire damage.
- Bronze: Resists arcane. Slows attack and casting speed.
- Be careful where you kill the adds, since they will all raise up again as bone constructs during phase 3.
- Once 42 of these adds have been killed, the next phase will begin.
Phase 2 (Nefarian)
- Everyone needs to wear their “Onyxia Scale Cloak” since he will cast “Shadow Flame” on the entire raid during Phase 2.
- After he has landed, he can be attacked. Traditional dragon positioning applies! Don’t stand behind him or in front of him.
- Nefarian will cast “Veil of Shadows” on a random target, reducing healing by 75%. This needs to be dispelled!
- He will cast an AoE Fear twice every minute, affecting everyone within 40 yards range, so it can be avoided by max ranging him.
- The most interesting and challenging part of Phase 2 are the class calls. Nefarian will periodically affect every member of a specific class in the whole raid. Here are the effects:
- Druid: Are morphed into Cat Form and unable to shapeshift.
- Hunter: The equipped ranged weapon will immediately break and lose all durability. Hunters should take a replacement or have a macro to quickly remove it before every class call.
- Mage: Will cast “Wild Polymorph” on any other members of the raid regardless of where they are.
- Paladin: Places a “Blessing of Protection” on Nefarian.
- Priest: Any targeted, direct heals will also apply Corrupted Healing, a stacking DoT. They should stop healing.
- Rogue: Placed next to Nefarian and unable to move.
- Shaman: Places powerful Fire Nova and Windfury Totems for Nefarian. They have to be destroyed quickly.
- Warlock: Summons a pair of infernals to stun the warlock and nearby raid members.
- Warrior: Swapped into Berserker Stance with double the damage taken effect and unable to swap stances.
Phase 3 (Nefarian and resurrected adds)
- Once Nefarian reaches 20% health, Phase 3 starts, and he will raise “Bone Constructs” from the bodies of the dragonkin. They need to be tanked by warriors with “Shield Walls” and “Challenging Shouts”, and AoE’d down.
- Paladins should cast “Blessing of Protection” on the Mages, so they can AoE without worrying about aggro.
- Then they should use Divine Shield and Holy Wrath to bring the adds down ASAP.
- The rest of the Phase is the same as Phase 2.
This is the end of the Blackwing Lair Guide. Happy Raiding!
