Preparing to Raid AQ20
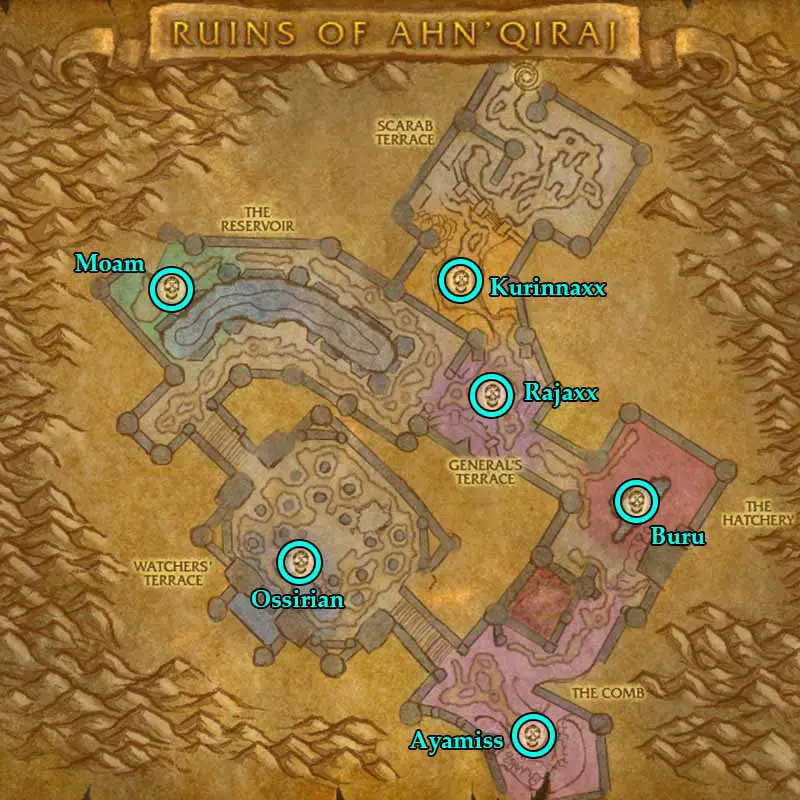
In order to enter the Ruins of Ahn’Qiraj, and its big brother the Temple of Ahn’Qiraj for that matter, the Gate in the Scarab Wall needs to be opened. In order for this gate to open, the server-wide War Effort Event must be completed and at least one player will have to complete the whole Quest line.
Now, apart from at least 1 Hunter with Tranquilizing Shot and at least 2 warriors that can off-tank in some situations, there are no particular class requirements for this raid. Depending on your gear, you should come with 5-6 healers.
Here’s an AQ20
Kurinnaxx – AQ20 Bosses
The first Boss in the Ruins of Ahn’Qiraj is a relatively simple tank and spank fight. Here’s what you need to know:
- The Tank should face him away from the raid, as his Wide Slash will hit everyone in front of him.
- Two Tanks will need to alternate tanking the boss, as Kurinnaxx applies a stacking Mortal Wound debuff on the tank. Tank should usually swap at 5 stacks.
- The boss will place Sand Traps, which explode, silencing players and reducing their hit chance by 20% for 20 seconds. This simply needs to be avoided.
- During the fight, a pack of flying adds will spawn. This pack needs to be picked up the whichever tank is currently not tanking the boss and focused down by the casters and ranged DPS as a priority.
- Once Kurinnaxx reaches 30% health, he will enter a permanent enraged state. Any longer Cooldowns should be preserved for this phase if possible.
One thing many raids fail at is controlling the pack of adds while still keeping up the tank rotation. If you have enough DPS, you could take an additional tank for this, or you could tank the adds near the boss, so that a tank swap is not too difficult.
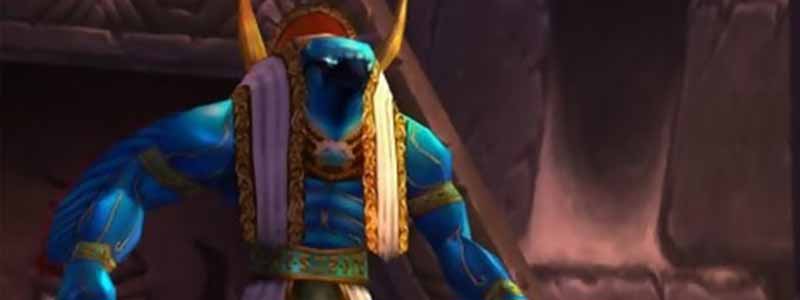
General Rajaxx – AQ20 Guide
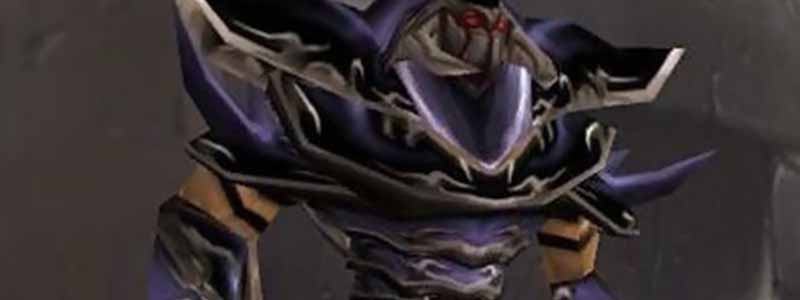
While General Rajaxx is not a lot more difficult than Kurinnaxx, the fight does require a lot more coordination, especially regarding CC. You can start the fight by talking to Lieutenant General Andorov.
- Andorov and 4 of his Kaldorei Elite will assist you in the fight. Your healers should try to keep them alive, as they will be a major help.
- The fight consists of a gauntlet of seven waves of enemies, followed by Rajaxx as the eighth. Each wave consists of Swarmguard Needlers, Qiraj Warriors, and one Captain.
- Mages should keep the Captain Polymorphed while the rest of the group is dealt with. Using any Stuns or CCs to control the adds is very useful.
- Once the group is dead, focus down the captain. Once he is dead, the next wave will spawn and any dead raid members can release spirit and rejoin the fight.
- The fight with Rajaxx himself is a DPS race. He will periodically use his Thundercrash, knocking the raid back and reducing their maximum health by 50%.
- He also Disarms the tank, which shouldn’t be much of a problem, especially if you kept the NPCs alive. Of course, it means DPS should watch their aggro, but that should be obvious.
Moam (optional)
The fight with Moam is one of the most unique Boss Fights in the whole game. Instead of regular DPS, players need to drain Moams mana in order to kill him.
- Priests, Hunters and Warlocks need to keep their Mana Drain abilities up on the Boss during the whole fight. It’s a good idea to establish a fixed rotation.
- If Moam reaches full Mana, he will cast Arcane Eruption which will most likely cause a wipe if it is allowed.
- 90 Seconds into the fight, Moam will turn to stone and 3 Mana Fiends will spawn. These can be Banished and need to be dealt with whithin 90 seconds, when the Boss comes alive again.
After this, the rest of the fight repeats these 2 Phases. It is paramount that Players manage their mana pools well and that the Raid composition allows for enough Mana Drain. Having at least 2 Warlocks will be a great help in the add phase.
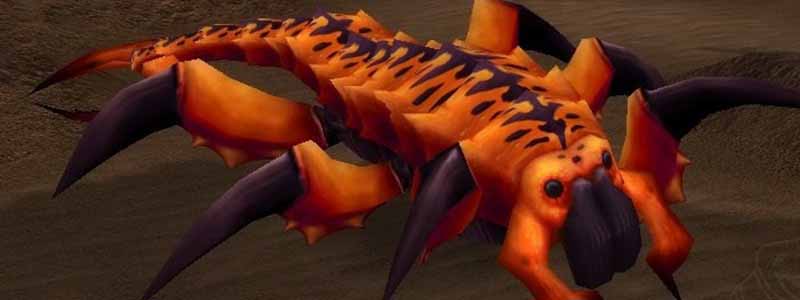
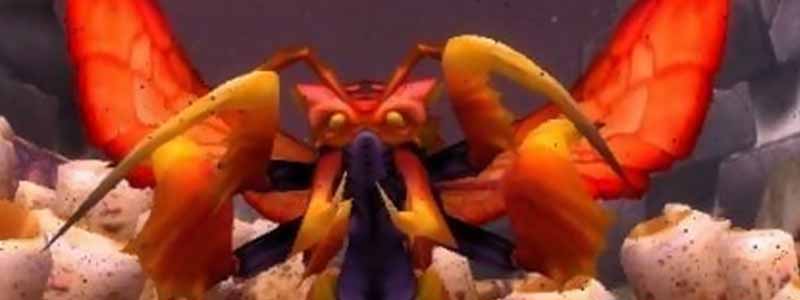
Buru the Gorger (optional)

Buru is another quite interesting fight. Instead of damaging him directly, which should be avoided as it makes him faster, Players need to make Buru destroy the eggs in the room in order to damage him. Start the fight by damaging one of the eggs.
- During the fight, Buru will randomly target and chase Raid Members. The targeted player needs to kite him into an Egg, so that he will destroy it. Keep in mind that Buru is taunt immune.
- When an egg is destroyed, a Hive’Zara Hatchling will spawn, which will need to be dealt with.
- Once the Boss reaches 20% health, he will become vulnerable to regular damage. From now on, the Boss is a DPS race. He’s still Taunt immune and will attack anyone he wants.
- In this last Phase, Buru emits a Creeping Plague, dealing increasing damage to the raid. Any DPS Cooldowns should be saved for this phase.
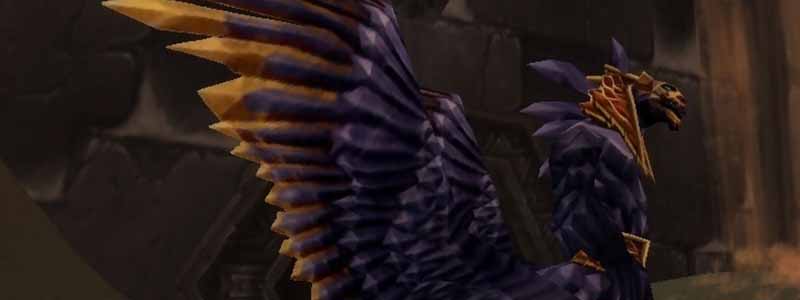
Ayamiss the Hunter (optional)
Ayamiss is a bit more challenging, as it is a 2 phase fight with some quite deadly mechanics. Nature resistance will be helpful in this fight.
Phase 1
- During Phase 1, Ayamiss will be flying above the arena, targeting the highest threat caster or range DPS with her attacks. These attacks cause a stacking damage debuff, so threat should be carefully watched and rotated.
- Melees and Tanks will stay at the altar and deal with the Hive’Zara Swarmers. They die quickly but pack a punch, so Tanks need to pick them up quickly.
- The Boss will also target the whole raid periodically with her Stinger Spray, causing more Nature Damage.
- Ayamiss will pick up a random Raid Member and put them onto the altar for sacrifice. When this happens, a Hive’Zara Larva will spawn on either side of the altar, which will need to be focused down immediately.
- If the sacrifice goes through, the player dies and a very powerful add spawns, making this by far the most deadly mechanic of the fight.
Phase 2
- When the boss reaches 70% health, she will land and can be picked up by a Tank, who can now actually hold aggro. Nature Resistance will be very, very useful for the Tank, although a regular Tank swap can make this almost unnecessary.
- The rest of the mechanics from Phase 1 stay the same. The Tank will now take the Nature Damage instead of one of the range DPS, of course.
- Make sure to AoE down the Swarmers quickly and deal with the Larvae as quick as possible, everyone should switch!
Ossirian the Unscarred – AQ20 Guide
The final Boss of the Ruins of Ahn’Qiraj and of this Boss Guide. Having some Free Action Potion will be very helpful for this fight. Ossirian is immune to taunts, so threat must be built manually and DPS should watch their threat (as always).
- He starts out with a very strong buff, Strength of Ossirian, which will be removed by dragging him to the Crystals throughout the room. When Ossirian reaches a crystal, he will lose this buff and become vulnerable to one type of magic for 45 seconds.
- The Crystals spawn randomly in the room, so at least one Player will need to stay mounted and look for Crystals, ideally a melee, as they won’t benefit from the magic vulnerability.
- A Mage should be assigned to Blink and use the new crystal when the Boss is moved, as it would dismount the Melee who is looking for them. Be sure to start moving to the new crystal soon enough. If the Boss regains his Buff, it will most likely mean a wipe.
- As the Boss is taunt immune, the Tank should be given enough Time to build Aggro. Ossirian will periodically cast Enveloping Winds, stunning the Tank for 10 seconds. This is where the (preemptive) Free Action Potion comes in handy.
- Tornadoes will appear throughout the room and need to be avoided. If a player is hit, they will be slowed and take damage.
- The Boss will cast War Stomp, knocking nearby players back and stunning them for 5 seconds, though there shouldn’t be many Players near him anyway.
- The Boss will also curse a Player with Curse of Tongues, which will need to be dispelled as quick as possible.
Congratulations! This is the End of the Ruins of Ahn’Qiraj Boss Guide. Now onto the real challenge, the Temple of Ahn’Quiraj!
