Hyjal Attunement Guide
In order to enter the Hyjal Raid in the Caverns of Time in Tanaris, Players need to complete the Quest The Vials of Eternity. This Attunement quest also starts in the Caverns of Time and requires players to kill and loot Lady Vashj and Kael’Thas Sunstrider in the Serpentshrine Caverns and Tempest Keep raids.
The first boss, Rage Winterchill, is also required to kill for the Black Temple Attunement.
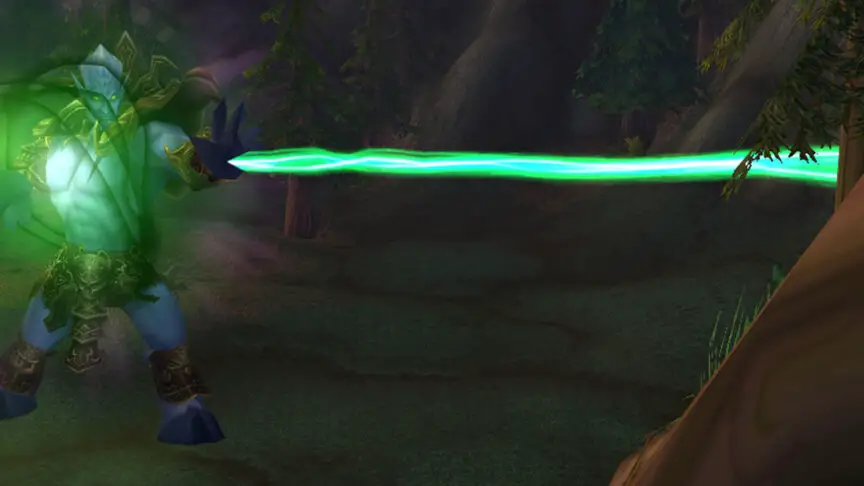
Rage Winterchill
Rage Winterchill is one of the easier Bosses in Hyjal, which makes, sense, as he’s also the first boss here. Here’s what you need to look out for during the fight:
- He will cast a Death and Decay on a random player. This has a 20 yard radius, which is why players need to spread out as much as possible. The effect can be hard to see, so watch out for it.
- Rage Winterchill will cast an Icebolt, stunning the target and dealing a large amount of initial and DoT damage. This can be avoided like any stun, using a PvP Trinket, Divine Shield, Ice Block, Blink etc. This also avoids the DoT effect.
- He has Frost Armor and will cast Frost Nova. The Nova root needs to be dispelled, so people can move out of the Death and Decay.
Anetheron
Anetheron is a bit more challenging, but shouldn’t be a huge issue once you get the tactics down.
- He will cast Carrion Swarm, dealing 3-6k damage and reducing the healing done by 75%. Because of this, it is very important that everyone spreads out as far as possible in a circle around the boss, especially healers.
- Anetheron has a Vampiric Aura, healing himself for 300% of the melee damage he deals. Warriors and Rogues should keep up Mortal Strike and Wound Poison on the boss, to reduce this as much as possible. Hunters can help with Aimed Shot, if there aren’t enough melees.
- The Boss will put 3 targets to Sleep for 10 seconds. This can’t be removed.
- Once per minute, Anetheron will Summon a Towering Infernal. These Infernals have Immolation, dealing 3-4k Fire damage every 2 seconds to nearby targets.
- The Towering Infernals need to be tanked away from Anetheron, so they don’t benefit from Vampiric Aura. Most raids tank them near Jaina Proudmoore.
- Ranged DPS should switch to the Infernals and kill them, while melees stay on the boss. The Infernals are immune to Taunt, so watch your Threat.
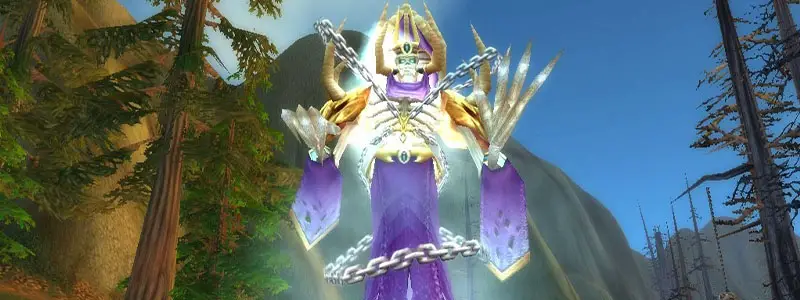
Kaz’rogal
Khaz’rogal will enter the Horde camp after Wave 8. If you need some extra time to rezz and prepare, rogues can distract him up the road. This boss is a DPS check.
- He has a Cleave, so watch out that nobody except the Tank stands in front of him.
- The Boss also casts War Stomp sometimes, stunning nearby players for 5 seconds.
- The main mechanic of this fight is Mark of Kaz’rogal. This is a 5 seconds debuff, draining 600 Mana every second. If the affected player drops to 0 mana from the debuff, he will explode for 10-12k damage.
- Kaz’rogal will cast his Mark of Kaz’rogal faster and faster every time, with increments of 10 seconds .
Azgalor
Azgalor is the second boss of the Horde camp in Mount Hyjal. He drops the Tier 6 Glove Tokens and is a bit more challenging than the previous bosses.
- The raid should spread out because of Azgalors Rain of Fire and move out of it as quick as possible.
- He has a Cleave, just like the previous boss, so watch out for that.
- The Boss will cast Howl of Azgalor on the entire raid, silencing everyone for 5 seconds. Shadow Resistance, Concentration Aura and similar effects help here.
- Every 45 Seconds. Azgalor will cast Doom on a random player. The target will die after 20 seconds and spawn a Lesser Doomguard. Soulstones can be especially useful here if saved for the first couple of Dooms.
- A Tank should pick up the Doomguards. They should be tanked near the Tauren NPCs and killed by the melees. Ranged can help if required.
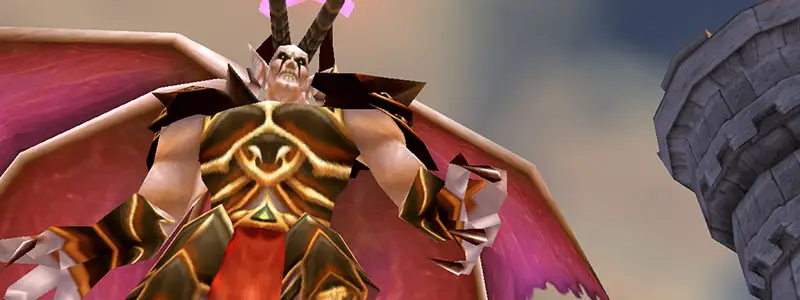
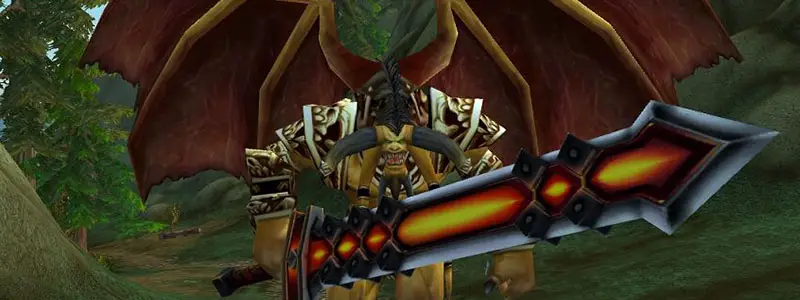
Archimonde
Archimonde is the final Boss of the Mount Hyjal raid and with that, of course, he is the most challenging one. He drops the Tier 6 Head Tokens. The encounter against Archimonde ends when he reaches 10% health. He has a 9 Minute enrange, after which he kills everyone instantly. If nobody is in melee range, he will start one-shotting random players.
- Archimonde will cast Doomfire, which spreads through the area. This should be avoided, as it also leaves a nasty debuff.
- He will periodically Fear the entire raid. To counter this, Tremor Totems and Fear Ward should be up at all times. Make sure to be far away from the fires, so you don’t get feared through it.
- Grip of the Legion must be dispelled as quick as possible. It deals 2.5k damage every 2 seconds for 5 minutes.
- When any raid-member dies, Archimonde will cast Soul Charge. This deals 4.5k Damage to everyone and depending on which class died, has one of three extra effects:
- Priest, Mage, Warlock: 4 seconds silence.
- Warrior, Rogue, Paladin: 50% increased damage taken for 4 sec.
- Druids, Shamans, Hunters: 2250 mana burn.
- Archimonde will randomly cast Air Burst on players. They will die from fall damage if they don’t use their Tears of the Goddess before hitting the ground. Everyone can get their Tear from Tyrande Whisperwind at the night elf camp before the encounter.
That’s it, you clear Mount Hyjal! Congratulations!
